Toggle navigation
Home
Shop
Shop
Products Index
New Zealand
Australia
USA
Canada
UK Shop
Europe
Other World regions
Choosing rebounders
Quality Mini trampolines
Books Video showcases
Starbound
Welcome
Rebounding
Kind Words
Starbounding
5 Star Fitness
Home Gym
Press Praise
Best Home Exercise
Rebounding History
NASA Research
Health and Fitness
Benefits
Benefits
Gravity
Cell Exercise
Lymphatics
Energy
Reduce Stress Impact
Transform
Mini trampoline Forces
Books
Best Seller
Inner Oceans
Mini trampoline workouts
New You
Plans Well being
Lifecycles
Health and Healing
Resolutions
Videos
Video workouts
Sequentia skills
Beginners
Warm Up
Rebounding
Sculpt and Tone
Stretch and Spirit
Video choices
Video menu
BeginnersTips
Warnings
Getting Started
Safety
Weekly Plans
Services
Services
Sessions
Courses Coaching
About You
Mini trampoline FAQs
Holistic Retreats
Links
News
Contact
Privacy
Warranty setup
{ Warranty
for USA rebounders
}
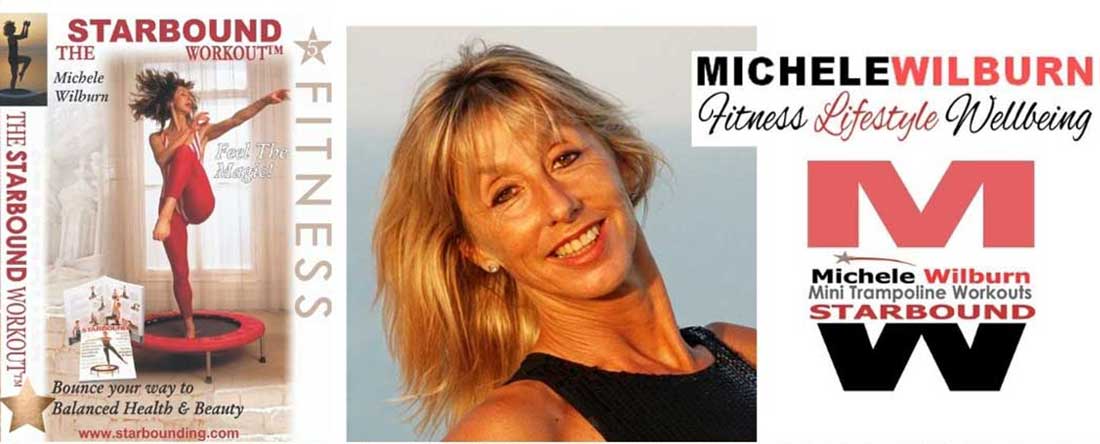
"Michele Wilburn - Undisputed Queen of the Mini trampoline" ~ Daily Telegraph UK